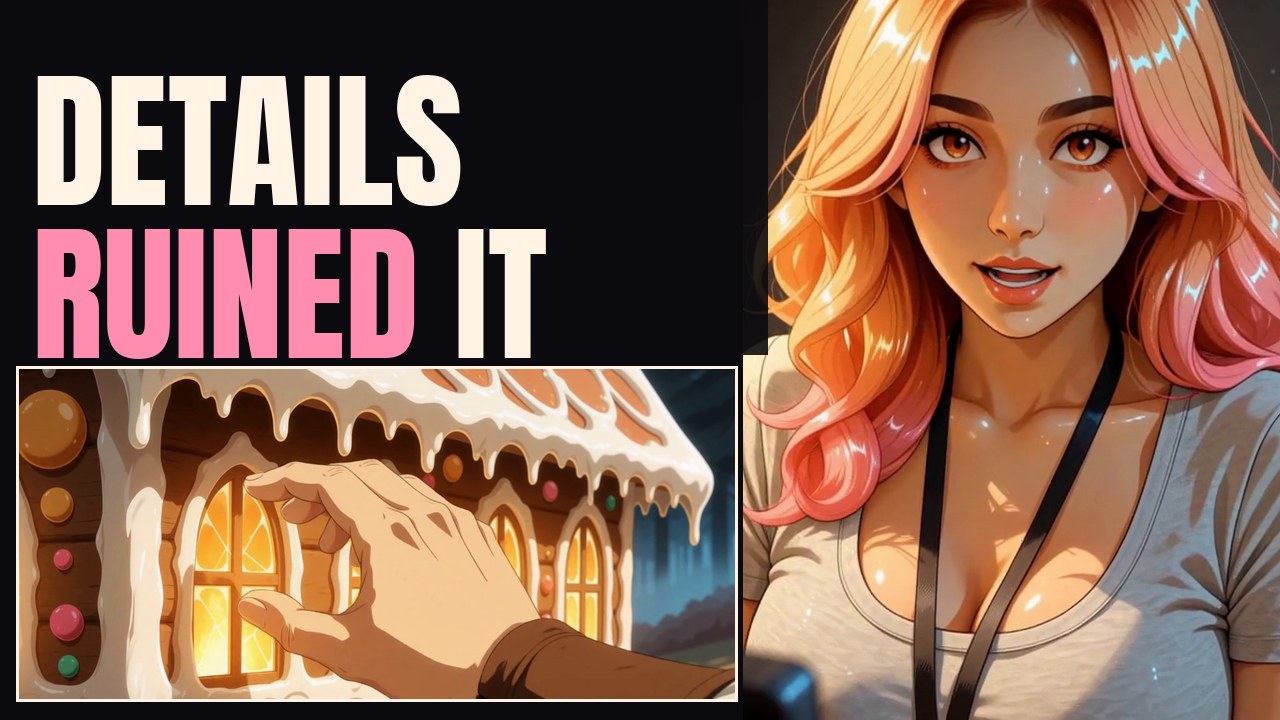
We spent two days turning a real presenter into an anime one, putting her in six worlds, and making a 48 second anime short with no dialogue in it. Everything below ran on one RTX 5090 at home, in ComfyUI, with models anybody can download.
The 48-second film itself, six shots and no dialogue, is its own video: RTX 5090 Anime Short: Hansel and Gretel.
The Krea 2 anime-edit graph from the episode, as a ComfyUI API json: ep45_krea2_anime_edit_api.json. It is the API format (what the /prompt endpoint takes), so read it for the node chain and the numbers rather than dragging it onto the canvas. Presenter animation, the transforms and the short film were generated with MiniMax H3, by MiniMax, used under the MiniMax H3 licence.
Five things went wrong. All five turned out to be the same mistake wearing different clothes:
Hand the model a picture if you want a shape, a face or a framing held. Use the word it was trained with if you want something about it to change. When it ignores you, being more precise makes it worse.
The transform: a photograph in, a drawing out
You do not prompt your way to an anime version of a person. You hand the model an actual photograph and ask it to redraw that.
Three parts:
- A base image model. We run Krea 2 locally (
krea2_turbo_fp8_scaled). - An identity LoRA, a small add-on file trained on the face you want. A LoRA bends a big model toward one thing without retraining the whole model.
- An edit path, so the model redraws your picture instead of inventing a new one. Ours is
krea2_identity_edit_v1_2.
The dial that actually controls stylisation
Reference strength (ref_boost) is the dial. The style LoRA is the look. Turn the reference down and the drawing gets to breathe. Turn it up and the drawing clings to the photo.
We spent an hour turning the style LoRA up because the output was not stylised enough. All that does is thicken the ink. The picture underneath stays a photograph in a costume. We landed on ref_boost 0.5.
There is a condition on that, and we only found it by running the ladder twice. The dial governs how much of the source survives, so it only has authority where nothing else has already decided that. We ran the same plate, same seed, same LoRA stack, at reference 1.0, 0.75 and 0.5 with a prompt that also restyles the room, and got three images you cannot tell apart. Ran it again with a prompt that holds the room, at 1.0, 0.5 and 0.25, and the progression is obvious: soft photo-like shading, then flat cel, then bold ink. The restyling prompt had already broken the photograph’s grip before the dial got a turn.
So when a ladder comes back flat, the dial is not always the thing that is broken. Ask what else in the graph already settled the question.
It will redecorate your room while you are not looking
Same desk, run twice. The second pass added a window that does not exist, put a plant on a shelf, installed a cabinet, and lightened the skin by about two shades. It is not misbehaving. Nobody told it those things had to stay.
Anything in frame that must survive the redraw has to be named in the prompt, and named again in the negative.
This edit does not go back. A different editor does.
Photo to anime works on the Krea 2 identity-edit path. Anime back to photo does not, on that path, no matter how far down you pull the reference: at cfg 1.0 the negative prompt does nothing, and the drawing holds. We spent an afternoon on a reference ladder that could never have worked for that reason, and for a day we believed the technique itself was one-way.
It is not. Anime-to-real is one of the most common uses of image editing, and we own four other local editors. Same anime plate, same instruction, through each of them:
| editor | result |
|---|---|
| Krea 2 identity edit, cfg 1 | still a drawing (the control) |
| Krea 2 Raw, cfg 3 | still a drawing, softer |
| FireRed 1.1 | half way, cel shading on the face |
| FLUX.2 Klein 4B | a photograph in 40 s, a different woman’s face |
| Qwen-Image-Edit-2511 | a photograph in 56 s, same pose, same tunic and belt, same shelves, hair right |
So the honest rule is narrower than the one we first wrote: the path you reach for first may not go back, and that tells you about the path, not the technique. Try the editor that re-renders the whole frame before you conclude anything.
One more thing the bench taught us. We also handed each editor a real photograph of her as an identity reference, expecting it to hold the face. Klein and Qwen both copied the reference’s front-on framing instead of editing the source. Hand a model a picture and it obeys the picture, including its pose. The face stays the open problem, and the standard fix for it is an identity LoRA or IP-Adapter on the editor you end up using.
Style LoRAs: ask whether you need one
Before stacking anything, we benched four anime style LoRAs against no LoRA at all, on a face, a full figure, a place and something in motion.
The control nearly won. A modern base model draws clean anime unaided. What the style LoRAs bought was control, not capability. That is a cheap test to run first and it would have saved us two days.
We ended up stacking two, doing two different jobs:
| LoRA | Strength | Job |
|---|---|---|
illustria | 1.3 | colour and painterly weight |
Anime Flat | 0.5 | keeps it flat and anime instead of drifting to digital illustration |
The ratio is not a number you look up, it is an axis you turn. Render a ladder of four strength pairs on one seed and pick by eye. Push the flat one up and the ink thickens and the fills go cooler. Push the colour one up and it gets richer and slides back toward illustration.
A named trait is not an instruction
Our presenter’s skin kept coming back several shades too dark. We wrote warm caramel skin. Then we wrote it harder. Nothing.
The fix was to stop naming the trait and start describing the thing:
- Did nothing:
hair in a pink-orange gradient - Worked:
warm orange at the roots and crown, falling to bright pink through the lengths and tips
Same for skin: light golden-amber, warm peach undertone, sunlit instead of a colour name. A label is a category. A pattern is something the model can draw.
Two routes to the same frame
Route A: generate a photo, then redraw it. Two renders. Identity comes from a real picture, which is the strongest hold you can get.
Route B: one pass. Identity LoRA and style LoRAs loaded together, ask for the anime version directly.
We shipped Route B. Half the render time, and, less obviously, more range. Holding a photograph that tightly makes everything come out sensible, and on a creative project the surprises are most of the value. Route A still earns its keep when one shot has to match another exactly, which is what we used it for on the closing transformation.
Put the look in a file, not in your head
That look has about eight numbers in it: two LoRAs, two weights, a reference strength, an identity strength, the skin wording and the hair pattern. Ours live in one JSON file that every tool in the episode reads. Nothing glamorous about it, and it is the only reason six worlds rendered hours apart match each other.
Video: you can write a camera cut into the prompt
This was new to us. In MiniMax H3, a timestamped instruction in the prompt works:
At 4 seconds, the camera cuts to the lamp room.
Out of eight attempts, seven landed on the written second, and every single time the beat on the other side of the cut was the one we described.
Two conditions:
- A cut needs somewhere new to go. We asked for a cut mid chase and got one unbroken eight second shot. Both halves were the same two people running through the same trees, so there was nowhere for a cut to go. Make the second half a different place and it fires on the second.
- Busy shots cut themselves. A character walking through a crowded lantern market fell apart into cuts every tenth of a second from the two second mark. Keep the busy shot still, or keep the moving shot simple.
The candy house that came back tiny
The most useful failure we hit. A shot of two children finding a cottage made of sweets: before the cut the cottage is a building, after the cut it is a toy on a table.
- Theory one: the cut caused it. A cut lets the model re-decide angle, lens, light and size. So we removed the cut and wrote the size into the prompt in plain words,
a large cottage filling the frame. It still shrank. Slower, but it shrank. Theory dead. - The real cause: the starting frame had the cottage small and far away over the children’s shoulders. Everything the model did afterwards was faithful to the picture it was handed.
- The fix: a new first frame with the cottage large and close, and a slow push in. The house grows, and the sugar detail arrives because the camera brought it.
A scale problem is a framing problem. No amount of prompt language about size beats a first frame that starts the subject small.
Character consistency across shots
Nobody has solved this. It is not solved here either. What works is four boring things stacked until the problem mostly goes away, and only the first one really matters:
- Every shot starts from a generated picture, used as the first frame. Identity comes from a frame, not from adjectives. (Third time the same rule showed up.)
- The same block of cast description pasted into every prompt without changing a word. Paraphrasing is how a character drifts.
- One style family across every shot, never mixed.
- A continuation option held in reserve for any shot that will not hold.
And one that is not an art problem at all
Our assembler picks which take to use by filename. It decided version order by checking whether a letter pair appeared anywhere in the name. One shot had that letter pair sitting inside an unrelated word in the middle of the scene name, so the assembler read our final shot as an old version of something else and silently dropped it.
The film came back 40 seconds instead of 48, five shots instead of six, missing its ending. Nothing errored. If you write anything that picks files by name, match the end of the name, not a fragment inside it.
Wardrobe and expression: use the training vocabulary
We wanted a higher neckline than the model liked to draw. So we wrote a paragraph: the neckline is closed and high, fastened to the collarbone, no opening, no gap. Precise, unambiguous, ignored.
Half ignored, which was the clue. The jumpsuit obeyed. The loose linen tunic did not. A jumpsuit has a zip, so there is a thing in the picture that can be closed. A loose tunic has no closure, so there is nothing for the instruction to act on and the model draws the shape it believes that garment has.
Two fixes, and neither is a better adjective:
- Ordinary tops: use the phrase the captions were written with. Ours was trained on
high neckline. Works first time, every time. - Costumes: do not argue with the silhouette. Put a second garment in the opening and describe its fabric filling the space.
A high-necked shirt buttoned to the throat, worn underneath.It works every roll and it looks better, because that is how clothes go together.
Nine attempts at a smile, then one word
We wanted a shopkeeper to look warm instead of stern. So we described it: the corners of her mouth are clearly lifted, her eyes are softened and slightly crinkled. Nine attempts, three wordings each more precise than the last, two identity strengths. Not one of them smiled.
Then somebody suggested a single word. happy. First roll, she smiles.
A long anatomical description is not more precise to a model. It is further from the language its training captions were written in, and those captions are short and plain. We also tested whether the word’s position in the prompt mattered. It did not. The word is the lever.
Making a shot talk, and what it costs
Every presenter shot in the episode is a still frame plus a voice file, animated by MiniMax H3’s dub path. The model does not care where the voice came from: a phone recording works as well as a synthetic one.
Three things we got wrong:
- The audio has to cover the clip. We wrote a line for a 25 second shot and it came in at 12.9 seconds. The model does not leave the rest silent, it invents speech in your voice saying nothing you wrote. Second attempt at 21.5 seconds did the same. Write to the length of the clip, or cut the clip to the length of what you wrote.
- End the file on a word. Trailing silence gets re-spoken rather than copied.
- Long takes hold better than expected, up to a point. 25 seconds of continuous talking, with the face, the clothes and the room identical at the end, and the mouth tracking the whole way. It does invent one camera cut at around 22 seconds, so stay under that if you need a clean take.
The cost curve is the part that shapes your edit
This is not fast, and the cost is not flat. Measured on eight clips, one RTX 5090, 8 sampling steps, widescreen at 24fps:
| Clip length | Render cost | In wall clock |
|---|---|---|
| 5 s | about 25x realtime | around 2 min |
| 9 to 12 s | about 36 to 43x | 5 to 9 min |
| 25 s | 87x | 36 min |
That curve is why our episode is cut into 9 and 12 second pieces instead of long takes. Short beats are roughly a third of the price, and as a bonus none of the six short ones invented a cut where the long one did. Your numbers will be your own.
If your card will not carry this, the same nodes run on Civitai and you pay in Buzz instead of render hours. Same graph, same models, somebody else’s card.
Licensing note
MiniMax H3 output is publishable with on-screen attribution, and you are allowed to train LoRAs for H3 on non-H3 data. What the licence forbids is training on H3’s own outputs. Worth reading before you start collecting clips for a dataset.
The one thing to take away
Every fix in this project was the same fix.
- Skin colour: stop naming it, describe the pattern.
- House scale: stop describing it, change the first frame.
- Character consistency: stop describing the cast, hand over a frame.
- Neckline: stop writing a paragraph, use the trained phrase.
- Smile: stop being anatomical, write
happy.
When a model ignores you, trying harder is not the third option. Hand it a picture, or use its own vocabulary.
That part is the science, and it is the same for everyone. What you point it at is the part that is yours.